
Enroll or Edit: Benefits
- Login to the myUK portal to update your personal information. If you need help logging in, this guide can help.
2. To access the Benefits Enrollment feature, first click on the "Benefits and Payment" menu item.

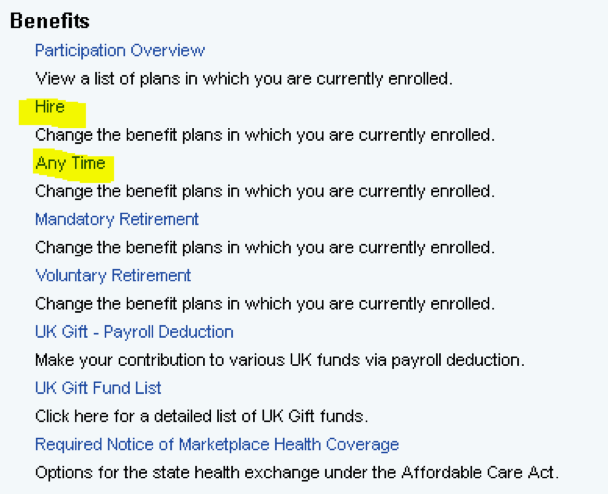
3. Click on the “Hire”, “EE Change in Status”, “ACA Eligible to Full”, “Gain ACA Credit”, or “Anytime” link under the “Benefits” header. You will only have two of these options, one for your reason to add benefits and the “Anytime” option, which allows you to update your beneficiaries at any time of the year.
4. Step 1 will show your current Personal Profile. Step 2 will show any Dependents/Beneficiaries you have added. You may add or edit your Dependents and Beneficiaries by clicking on “Step 2: Dependents and Beneficiaries” then clicking on “Edit Dependents and Beneficiaries”. Please make sure you do not have a pop-up blocker on, as this will prevent a window from opening.

A new window will open and you can add or edit the people you have listed by clicking “Add” or the pencil to the right of the person’s name.

5. Step 3 will show Benefits you are currently enrolled in. Click on “Step 4: Health Plans” to add Health, Dental, and Vision plans.

Click the piece of paper or the pencil to add or edit your health, dental, and vision plans.
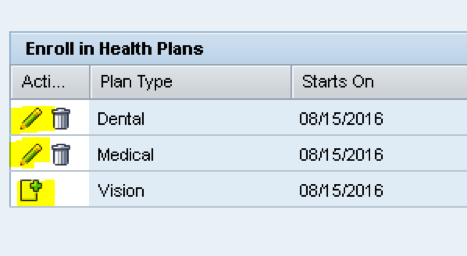
You will select your plan, coverage, and dependents for each plan on this step.
6. Click on “Step 5: Insurance Plans” to select your Life Insurance Plans and designate Beneficiaries.

Click on the piece of paper or the pencil to add or edit your life insurance plans.
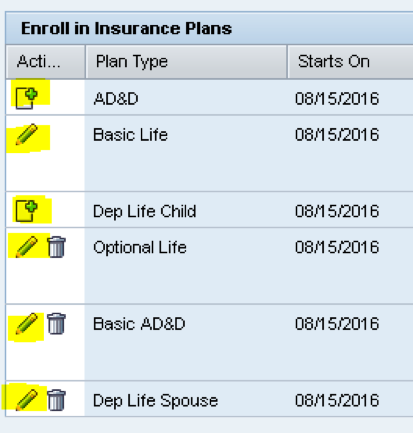
Please note: when designating beneficiaries, the percentage for the primary must equal 100%, as well as the contingent, should you designate secondary beneficiaries.
7. Click on “Step 6: Savings Plans” to add your Mandatory Retirement election(s).

You will click on the piece of paper to add your election.
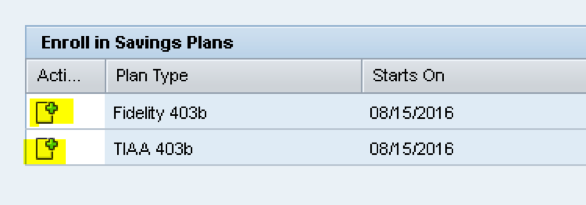
Enter the pre-tax percentage. Elections can be split between carriers, but must total 5%. Then click “Add”.

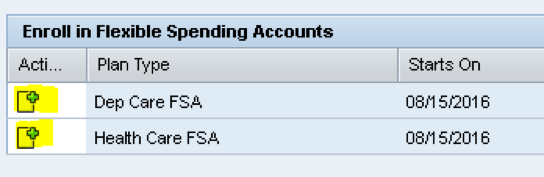
8. Click on “Step 7: Flexible Spending Accounts” to add Dependent Care and/or Health Care Flexible Spending Accounts.

Click the piece of paper beside the plan you wish to enroll in. Add your election amount, then select “Add”.
9. Click on “Step 8: Review” to review your election(s) and click “Save” to complete your election process.

Note: you will receive an email confirming changes have been made to your benefits. If you do not receive this email or have any questions, please call 859-257-9555 and press option 3 to speak with a Benefits Customer Service Representative. We recommend you print the final Review step in order to have record of changes you made.